
Looking for a quick and easy way to make a stylish keychain fob? Look no further! This 2-minute DIY keychain fob tutorial is perfect for beginners and experienced crafters alike.
With just a few simple supplies, you can create a unique and personalized keychain fob that you'll love to use. Plus, it's a great way to use up leftover fabric scraps.
With just a few simple supplies, you can create a keychain fob that's perfect for your personal style. Whether you want a fun and funky fob or a more sophisticated one, this tutorial has you covered. So what are you waiting for? Start making your own keychain fob today!
 |
| Keychain Fob |
 |
| Webbing and fabric Keychain Fob |
Do you struggle to find your keys in that black hole you call a handbag?
Well, do I have news for you sis.
Today you are going to make an easy key holder for your keys.
This project does not require a lot of materials, all you'll need are:
- One 12" x 1" piece of webbing ( I used Nylon webbing)
- One 12" x 1" piece of fabric of your choice
- One split ring
Instructions and Assembly
First, press your fabric piece in half lengthwise to form a crease, then open and fold the long edges in towards the center crease.


Place the folded fabric on top of the webbing, make sure it is centered, and pin or clip in place.

Take it to your sewing machine and sew along the edges with a 1/8" seam allowance to secure.
Run the strapping piece through the split ring and bring the short edges right sides together.
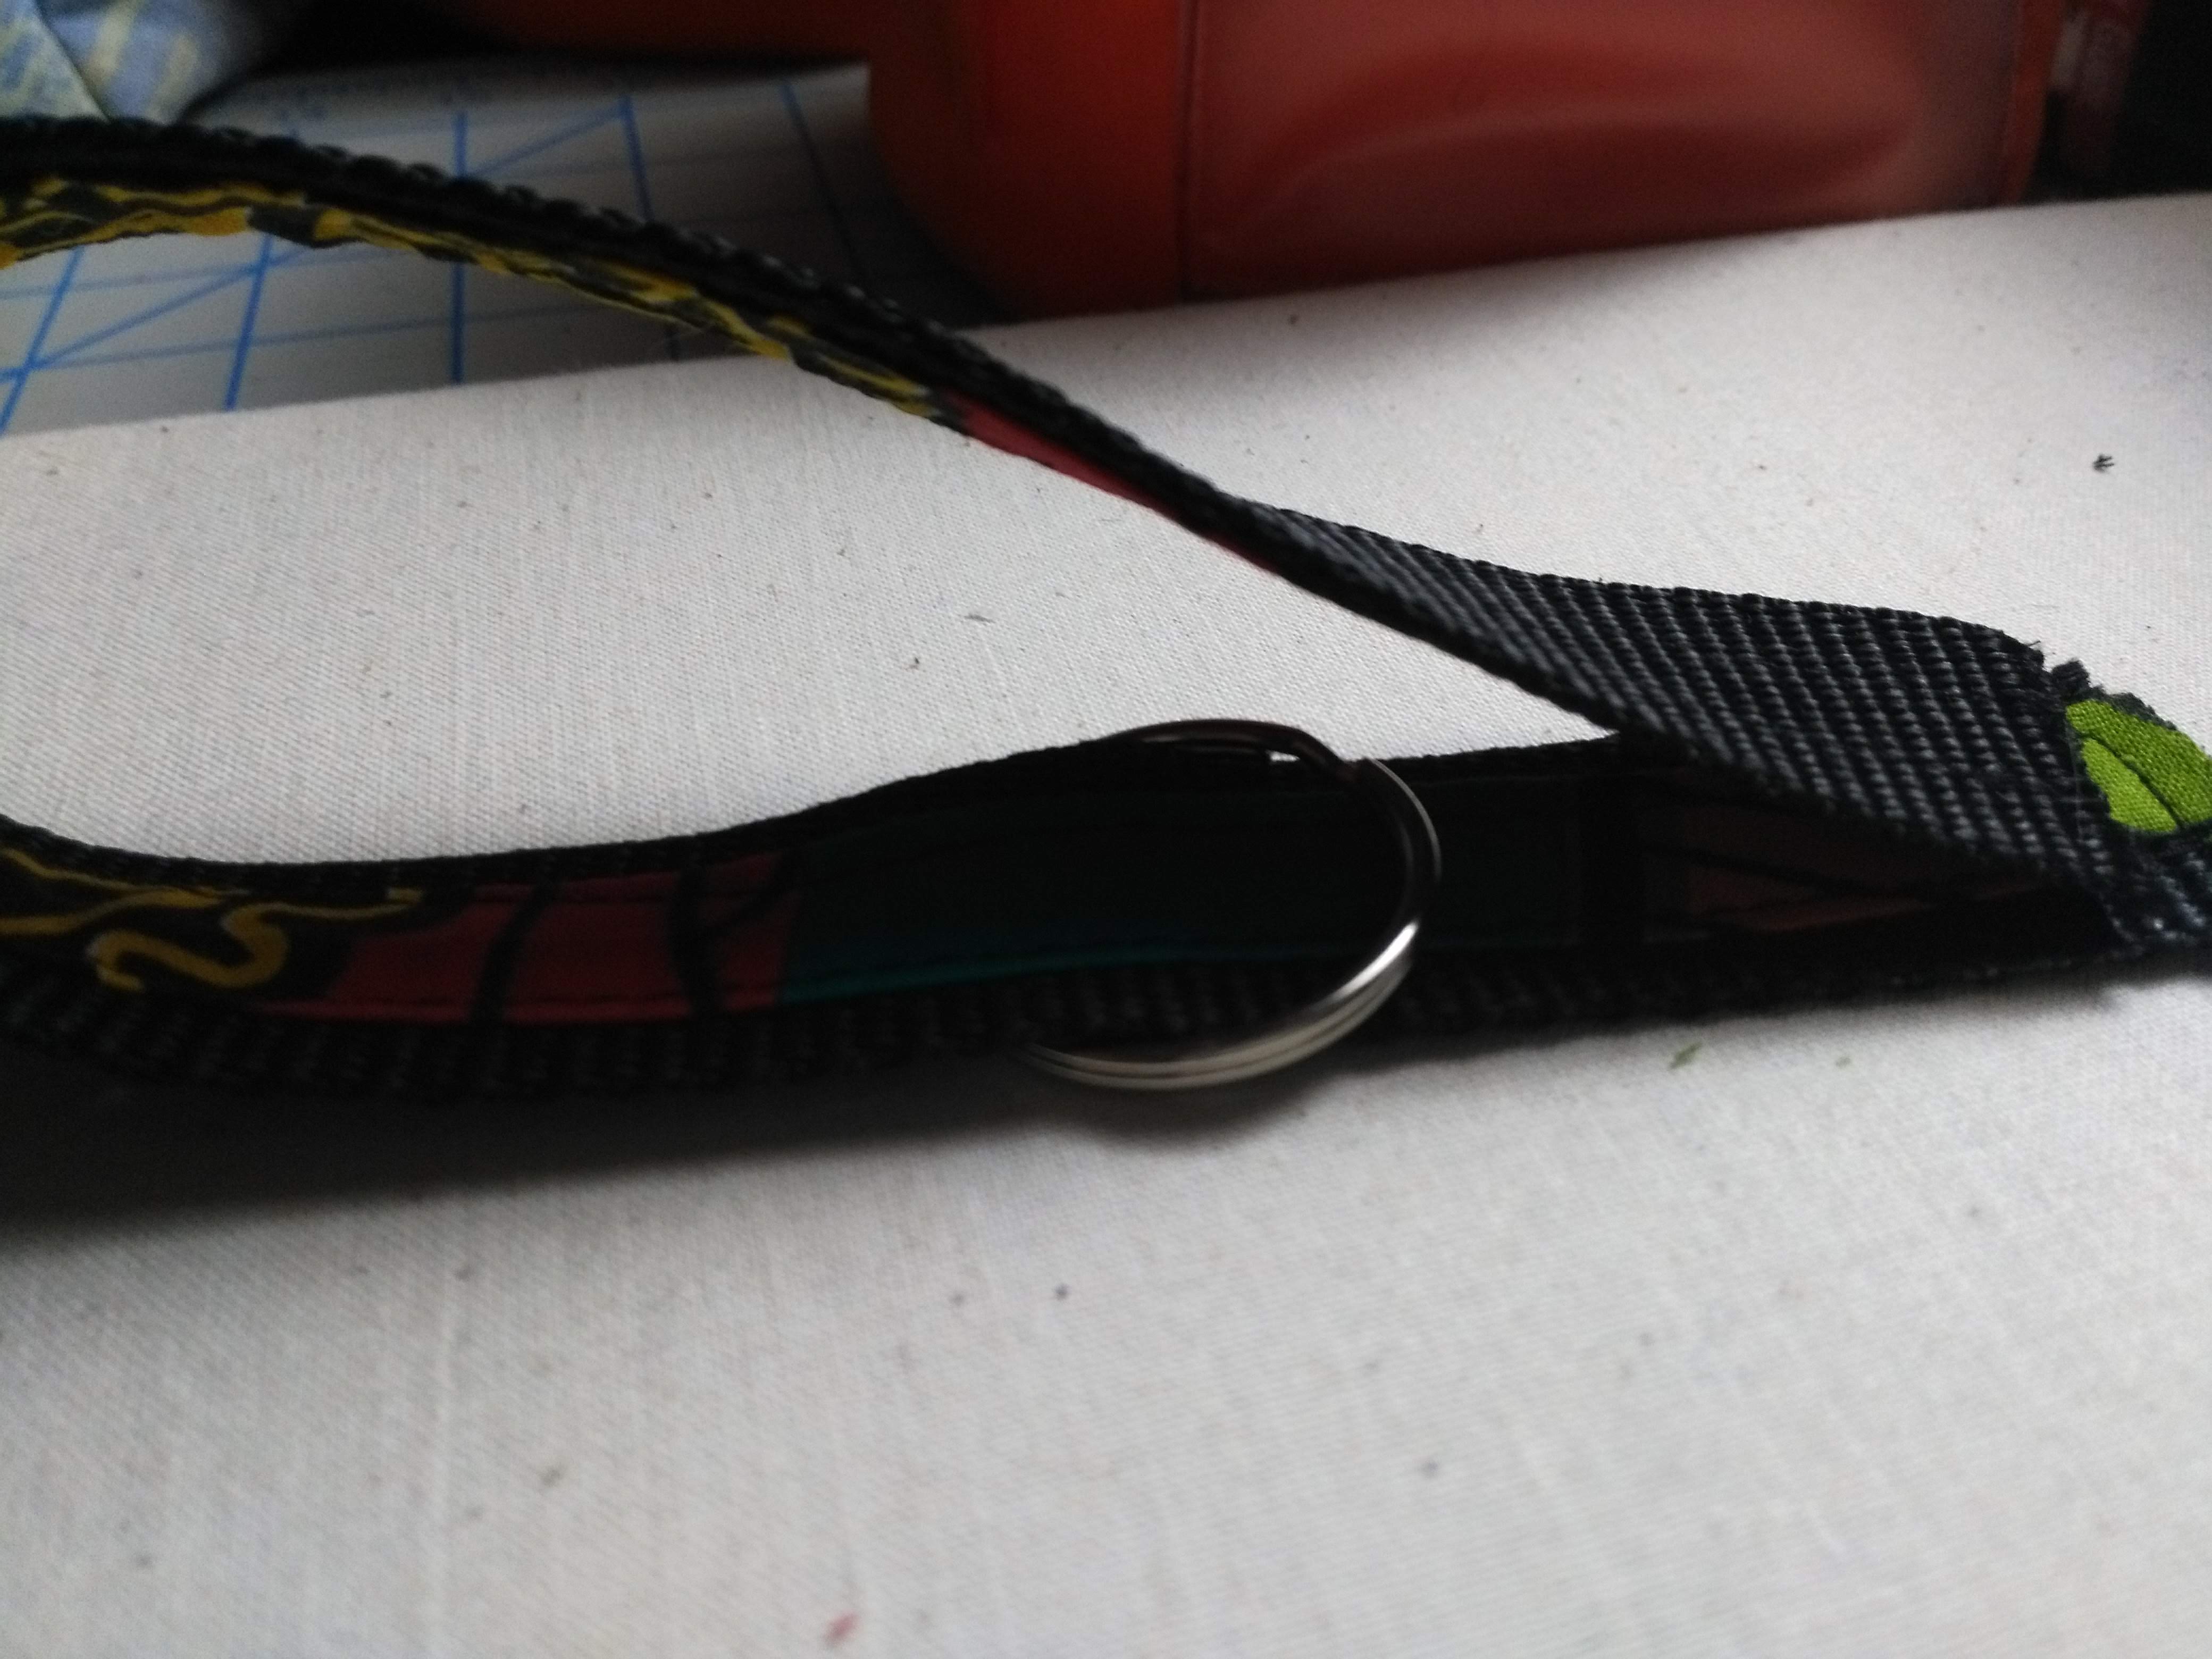
Stitch across the short edges with a 1/4" seam allowance.

Turn the strapping right sides out and pull the split ring close to the seam.
Stitch across to secure the split ring in place.

Now take a moment to admire the wonderful job that you have done.

In under 5 minutes, you made yourself an awesome key holder.
You never have to worry about finding your keys again girl.....you did it, high five ✋
❤Check out my YouTube channel Sewly Jo for this video tutorial and lots more.....catch yuh later 😎


0 Comments