Watch video⮟
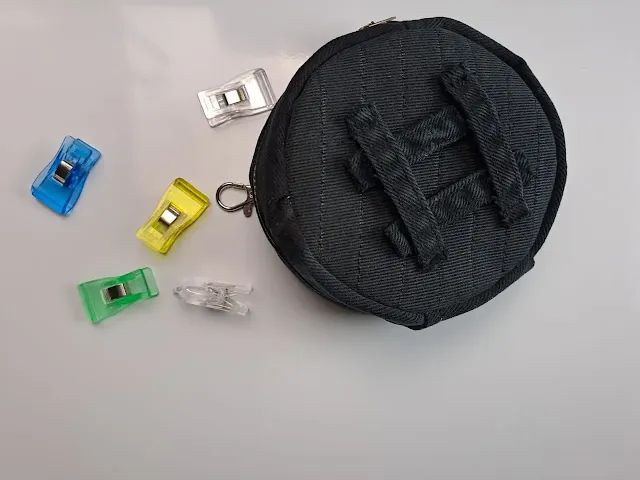
Are you looking for a stylish way to keep your small essentials organized? This beginner-friendly sewing project delivers both form and function, resulting in a professional-looking circle zipper pouch you'll be proud to carry or gift.
Materials
- Fabric: Two complementary fabrics (one for exterior, one for lining)
- Stabilizer: Foam interfacing for structure
- Hardware: Zipper, D-ring, and swivel hook
- Trim: Binding tape
- Tools: Sewing machine, scissors, pins, iron, and basic sewing supplies
- Template: Circle pattern (available for download)
Creating Your Circle Pouch
1. Prepare Your Materials
Start with precision cutting for professional results:
- Use the downloadable pattern to cut perfect circles from your exterior fabric, lining fabric, and foam interfacing.
- For a designer touch, add decorative stitching to your exterior panels before assembly.
- Cut and prepare a small fabric tab for the D-ring attachment.
2. Master the Zipper Installation
The zipper creates the opening while adding character to your pouch:
- Sandwich the zipper between matching exterior and lining panels.
- Secure with straight stitches, maintaining even seam allowance.
- Add polished topstitching approximately 1/8" from the zipper teeth.
- Remember to open the zipper halfway before proceeding to ensure access later.
3. Form the Pouch Structure
Creating the three-dimensional shape:
- Position your circular base piece against the zipper panel.
- Pin carefully, matching raw edges and distributing fabric evenly.
- Sew slowly around the curve, using a shorter stitch length for strength around the circumference.
- Repeat for both exterior and lining layers.
4. Finish With Professional Binding
Elevate your project with clean interior seams:
- Apply binding tape to enclose all raw edges inside the pouch.
- Take your time around curves, clipping or notching as needed.
- Secure with a straight stitch or decorative finish for added durability.
5. Add Personal Touches
Make it uniquely yours:
- Attach the D-ring tab securely to the pouch exterior.
- Connect the swivel hook for versatile carrying options.
- Trim threads and press the finished pouch gently.
Pro Tips for Success
- Curve Mastery: Use plenty of pins and sew slowly when navigating circular edges.
- Hardware Handling: Switch to a zipper foot when stitching close to metal components.
- Secure Assembly: Consider using fabric glue as a temporary hold before stitching challenging areas.
- Custom Sizing: Scale the pattern up or down to create a coordinated set of pouches.
- Design Opportunity: Choose contrasting fabrics, add embroidery, or incorporate appliqué for a one-of-a-kind creation.
From Fabric to Finished Pouch
This versatile project transforms fabric scraps into a practical accessory that makes an excellent gift or personal organizer. Perfect for storing earbuds, cosmetics, jewelry, or sewing notions, your handmade circle pouch combines craftsmanship with everyday functionality.
The satisfaction of creating something both beautiful and useful awaits. Happy sewing!


0 Comments