

If you're new to bagmaking, it can be hard to know where to start. There are so many different techniques and tools out there. I've done my best to compile some of the most helpful tips that will make your journey easier!
Bagmaking hacks for beginners
Use the right needle

Needles are designed to work with certain types of fabrics and fibres. If you're using a needle that's too small, your fabric will be stretched out of shape and won't look as good as it could.
The size of the needle depends on what type of fabric you're working with: cotton, silk or wool will require different-sized needles than acrylic lace or canvas!
Needle sizes range from 2mm up to 10mm (1/8th inch). The most common sizes are 6mm (1/4"), 8mm (5/16"), 10mm (3/8") ... but there's no hard-and-fast rule about this; some people prefer longer needles for thick materials like fleece while others prefer short ones, so they don't get caught in the intricate patterns on their work! There are also metal needles which should never be used with natural fibers due to corrosion issues - plastic ones should suffice instead!
Be consistent with the number of layers you sew through
Sewing through multiple layers of fabric is a bit of a guessing game. You have to know how many layers your project has, but it's not always easy to tell from looking at the pattern or from the outside of your project.
To help you out, I've created this handy guide:
Lay out all of the pieces that make up your bag in front of you so that they're all lined up with each other and separated by at least two inches (and preferably four). This includes everything from interfacing to lining fabric; if there are any other pieces in between them too (like handles), bring them into view as well!
Measure from one side edge where all those different pieces meet up against where they start—this will be their longest length when finished together with seams added later on down inside parts like pockets etc.—and add another inch onto each measurement so we can know exactly how much space there should be between each piece before sewing begins - whatever amount seems best based upon personal preference though usually 1 inch works fine since most people prefer more room within their bags anyway...
Use a walking foot

One of the best ways to get professional results from your sewing machine is by using a walking foot. A walking foot is a piece of equipment that helps you sew multiple layers together without having them bunch up or shift around too much.
When you're working with just one layer of fabric, there are two main options:
Use an appliqué foot (the kind where you can attach different shapes to it) and then use it on your regular sewing machine. This will allow you to place multiple pieces at once onto your project; however, it's important not to leave anything unattached! If you do this mistake in any way—by leaving off parts of the pattern or sewing overtop someone else's work—then this could cause damage later on down the line when trying to remove these stitches later on down their journey through time and space....
This blog may contain affiliate links, when you use these links to make a purchase, I will receive a small commission at no cost to you. Thanks!
Don't buy cheap interfacing
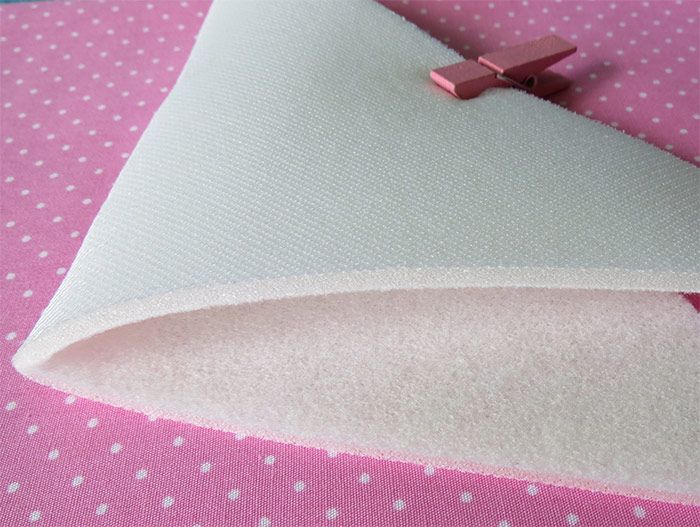
Don't buy cheap interfacing.
The most affordable interfacing is often too thick, which means that you won't be able to use it for the bag you're making. If your fabric is 100% cotton and the interfacing is only 1/8" thick, then you'll have trouble getting your layers together properly. You want something that's thin enough so that all of your layers will fit together nicely without puckering or puckering too much on one side—but not so thin that it doesn't make any difference in how things look when they're assembled!
Use light-colored fabrics (like white) rather than dark ones (like black). This helps with visibility when looking at something through a window or door frame—you'll see exactly where everything goes!
Get a magnetic snap setter.

Magnetic snap setters are a simple tool that can help you get your snaps in the right place. They’re made of metal, and they have two prongs on the side that gently push the snap onto a piece of fabric. The prongs are magnetic, so they won't hurt your fingers when applying them.
These tools cost anywhere from $10 to $60 depending on which brand you buy, but they're worth every penny if you're willing to invest in something that will make bagmaking easier for beginners and pros alike!
Keep your sewing machine well-oiled and in good working condition.
Keeping your sewing machine well-oiled and in good working condition is important. This will ensure that it lasts longer, which means more time spent making beautiful bags!
To keep your sewing machine well-oiled:
Always turn off the power before cleaning it!
Oil with light oil such as sewing machine oil or olive oil.
Never use water on an electric cord; if water gets into the motor or electrical connection, you could be in for some expensive repairs.
Always finish your seam allowances.

So, you've sewn your project and the last thing you want is a fraying seam. Seam allowances are the parts of the fabric that are not sewn but can still fray if they're not finished properly. To prevent fraying, you'll need to finish your seam allowances in one of three ways: serging (awe-inspiringly beautiful), zigzag stitching or simply folding over and pressing them flat so they don't curl when stretched out.
The great thing about finishing your seams is that it only takes minutes! You don't even have to stop what you're doing; just put away all your tools and get started with this step right away!
Use tape on the soles of your presser feet.
While you're at it, consider using tape on the soles of your presser feet. This will help you guide the fabric through the machine, which will make it easier to get a straight seam and avoid puckering in places where corners and curves meet. It's also useful when working with lightweight fabrics like linen or cotton canvas—you can use it as reinforcement for corners that might otherwise break down from stress from over stretching during stitching.
Tape can be removed easily once you've finished sewing; if you need to take apart your machine for any reason (like moving), just remove the top cover and unscrew each screw individually before removing all four sides completely from around the baseboard underneath where everything attaches together (this is how we did ours). Sometimes there are holes in these covers, so they don't stick out too far when placed back together again without damaging anything else inside either--make sure yours has enough clearance before applying any kind of adhesive!
.jpeg)
Pay attention to where pockets are placed.
When it comes to placement, there are two ways you can go. You can place pockets on the front and back of the bag, or you can place them on the sides. Pockets can also be placed inside your bag as well.
If you're going with a front pocket, think about where in your body this pocket will sit (i.e., at what height) so that it doesn't interfere with anything else when opened/folded down over time or carried by someone else who might have short arms!

If you’re ready to take your bagmaking skills to the next level, here are some tips that will help you make better bags.
Have fun! You can make a lot of money from your bags, and it doesn't have to be stressful if you're having fun with them.
Make more than one type of bag at once, so that if one type isn't selling well, try another one instead. This way, if someone likes one kind better than another kind, they may buy all three types together as gifts or even just because they like them all equally!
These tips are by no means the only ones out there, but they will definitely help you get started. We hope that this article has gotten you excited about bagmaking and all of the wonderful things it can do for your life! If there's anything else we can do to help make our community even better, please let us know in the comments below.
.jpeg) |
| Share this post to social media. |


1 Comments